

I’d been meaning to learn to use a sewing machine for a while now, because while I can hand-sew just fine, machine sewing is dead handy for my endless crafting, costumes, and the never-ending list of hobbies I find myself involved in.
You may have seen this on the blog’s FB page (or my social media accounts if you know me personally), and here’s the story behind it: my sister, who’s teaching me to sew, showed me a pillowbed on Pinterest (evil, evil Pinterest) and I decided to make one as my first project. Now it’s basically just sewing the seams of the pillowcases together, but I count it as a major achievement for LVL: Noob.
You’ll need the following:
4 pillowcases* and 4 pillows (make sure they match in size)
sewing machine**
iron and ironing board
sewing clips or pins
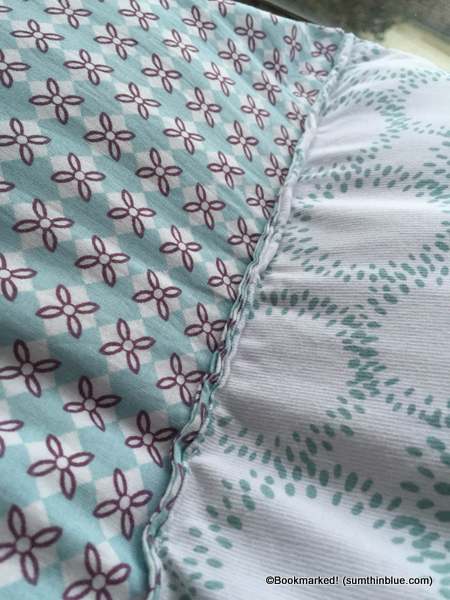
*There is a method that uses a twin flat sheet but it’s trickier to mark off your own seams and I didn’t want the trouble. Also, I wanted a mix of pretty patterns so I used four different pillowcases whose designs revolved around the same color palette
**Confession: I faked my way through high school sewing class on the old Singers (hehe, as did the rest of the class — one girl *cough cough hello, LA* ended up sewing all our potholders). My mom’s old Singer broke down eons ago so I’m learning on an electric Brother sewing machine. I know lots of people swear by the old cabinet-style machines, but I’m really liking all the bells and whistles on the electric one: dozens of stitches, built in threader (my poor eyesight is ever so grateful), and other functions I have yet to discover the use for.
Easy-peasy instructions:
1) Iron the pillowcases so that the crease runs along the side seams.
2) Clip or pin the seams together. Make sure the pillowcase openings are all on one side and the seams line up so that when you sew the three seams together, they face the same direction.
3) Stitch together the three seams, just straight down the sides. Make sure to stitch close to the edge so your pillows still fit inside.
4) Insert pillows into the pillowcases.
Optional: If your pillowcases don’t have inner flaps, install snaps to keep the pillows in place.
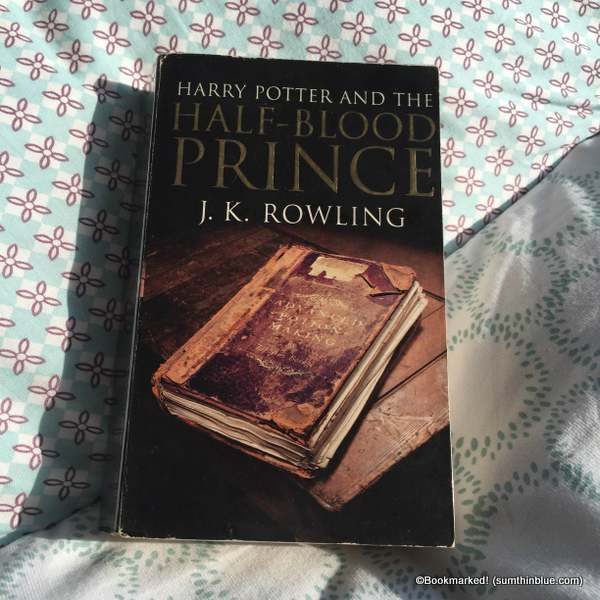
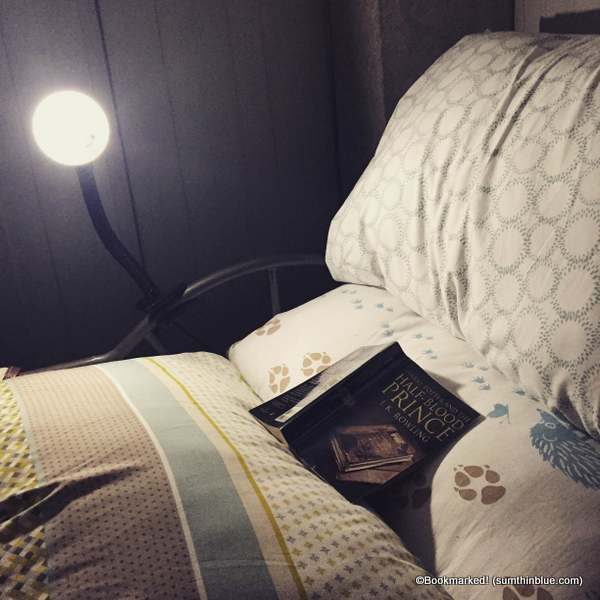
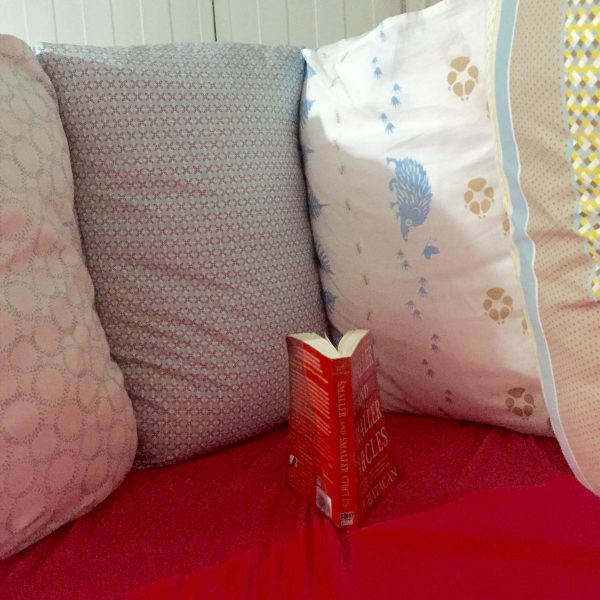
And you’re done — just add book!
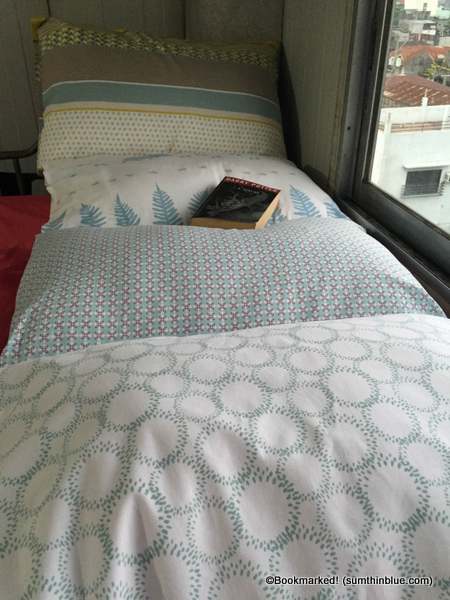
It’s really simple, and the pay-off is well worth it: instant reading nook!
You can lounge around while reading:
And it can transform from a futon into a cushy chair:
Or a book fort:
The drawback: I want to read all day! Not bad for a noob project, eh?
i like to use it as a book fort! But this gives me an idea to make a cushy chair when reading or watching TV in my bed. Thanks for the nifty idea. Invite us soon for the launch! ; )
Sana, two pillowbeds (or a very long one with 8 pillows) will make a totally awesome book fort!